Search
 English
 中文简体
中文简体 Español
Content
What Injection Molding Is and Why It Matters
Injection molding is a manufacturing process where molten plastic material is injected under high pressure into a precision-machined mold cavity, then cooled and ejected as a finished part. It is one of the most widely used methods for producing plastic components at scale, ranging from small connectors and enclosures to large automotive panels. The process is valued for its repeatability, tight tolerances, and ability to produce complex geometries in a single cycle, making it a preferred choice for industries such as consumer electronics, medical devices, packaging, and automotive manufacturing.
Unlike machining or 3D printing, injection molding is most cost-effective at higher production volumes because the upfront tooling cost is offset by low per-unit costs once the mold is built. Understanding how the process works, along with proper part design and material selection, is essential for avoiding costly mistakes during production.
The Core Steps of the Injection Molding Process
While specific machine settings vary by material and part geometry, the injection molding process generally follows the same sequence of stages from raw material to finished part.
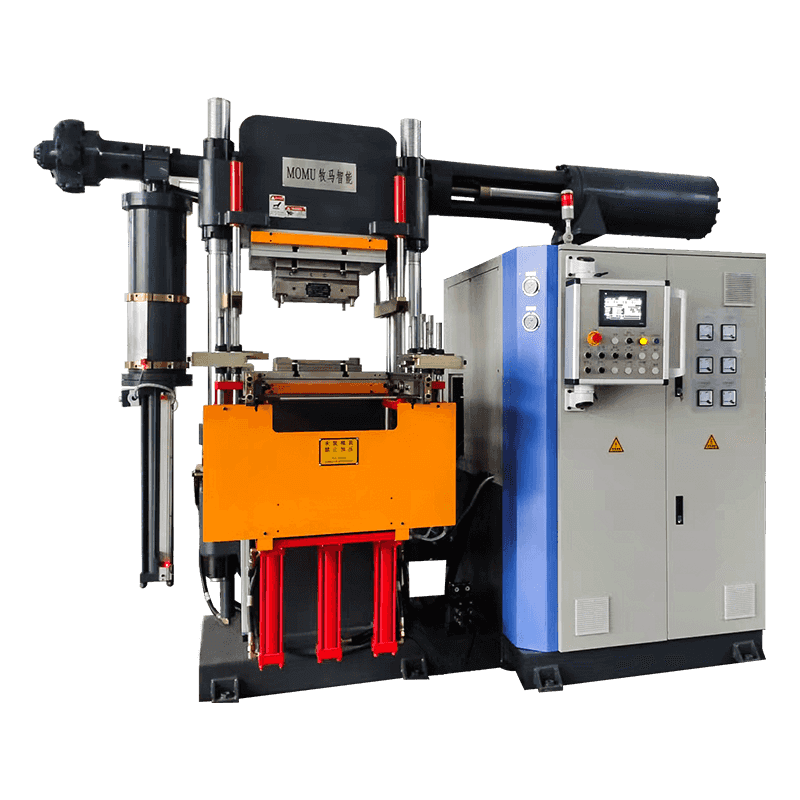
Clamping
The two halves of the mold are securely closed by the clamping unit before injection begins. The clamping force must be sufficient to keep the mold shut against the pressure of the molten plastic being injected, preventing flash or leakage at the parting line.
Injection
Plastic pellets are fed into a heated barrel, where they are melted and then forced into the mold cavity through a nozzle and gate system. Injection speed and pressure must be carefully controlled to avoid defects such as short shots, burn marks, or excessive internal stress.
Cooling
Once the cavity is filled, the plastic is allowed to cool and solidify inside the mold. Cooling time typically accounts for the largest portion of the overall cycle time and is influenced by wall thickness, material type, and mold temperature control.
Ejection
After sufficient cooling, the mold opens and ejector pins push the finished part free from the cavity. The part is then inspected, and any runners or sprues are trimmed away before the cycle repeats.
Design Tips That Reduce Defects and Cost
Part design has a direct impact on moldability, cycle time, and overall production cost. Applying the following principles during the design phase can help avoid rework and tooling changes later on.
- Maintain uniform wall thickness throughout the part to reduce warping and sink marks caused by uneven cooling
- Add draft angles of at least 1 to 2 degrees on vertical walls to allow smooth ejection from the mold
- Avoid sharp internal corners by using generous radii, which reduces stress concentration and improves material flow
- Design ribs at 50 to 60 percent of the adjacent wall thickness to add strength without causing visible sink marks
- Place gates in locations that minimize weld lines and allow even material flow across the cavity
Ignoring these guidelines often results in visible surface defects, dimensional inaccuracies, or parts that are difficult to eject cleanly, all of which increase scrap rates and slow down production.
Choosing the Right Material for Your Application
Material selection affects not only the mechanical performance of the final part but also how it behaves during the molding process itself. Different plastics have distinct melting points, shrinkage rates, and flow characteristics that must be accounted for in both mold design and processing parameters.
| Material | Key Properties | Common Applications |
| ABS | Impact resistant, easy to mold | Consumer electronics housings, toys |
| Polypropylene (PP) | Chemical resistant, flexible | Packaging, living hinges, containers |
| Polycarbonate (PC) | High strength, transparent options | Safety equipment, lenses, medical devices |
| Nylon (PA) | Wear resistant, high tensile strength | Gears, mechanical fasteners, automotive parts |
| POM (Acetal) | Low friction, dimensionally stable | Precision gears, sliding components |
Beyond mechanical properties, factors such as UV resistance, flame retardancy, and regulatory compliance for food or medical contact should also guide material selection depending on the intended use case.
Common Defects and How to Prevent Them
Even with a well-designed part and mold, defects can occur if process parameters are not properly tuned. Recognizing these issues early helps operators make quick corrections before large batches are affected.
- Sink marks, typically caused by thick sections cooling unevenly, can be reduced by adjusting wall thickness or increasing packing pressure
- Warping often results from inconsistent cooling rates across the part and can be minimized with balanced cooling channel design
- Short shots occur when the mold cavity is not completely filled, usually due to insufficient injection pressure or an undersized gate
- Flash appears when material escapes at the parting line, often caused by excessive injection pressure or worn mold surfaces
Routine mold maintenance combined with process monitoring, such as tracking cavity pressure and melt temperature, can catch these issues before they lead to significant scrap or downtime.
Planning for Production Volume and Tooling Costs
Tooling represents the largest upfront investment in injection molding, and mold costs vary significantly based on complexity, cavity count, and expected mold life. A single-cavity prototype mold may cost a few thousand dollars, while a multi-cavity production mold designed for hundreds of thousands of cycles can cost significantly more. Businesses evaluating injection molding should weigh their expected production volume against tooling investment, since the process becomes more economical as unit volume increases and tooling costs are spread across more parts.
For low-volume runs or early prototyping, some manufacturers opt for aluminum tooling or 3D-printed molds, which reduce upfront costs but have shorter usable lifespans compared to hardened steel molds used in high-volume production. Choosing the right tooling strategy depends on balancing initial investment against long-term production needs.