Search
 English
 中文简体
中文简体 Español
Content
- 1 What a BMC Special Molding Machine Actually Does
- 2 Core Components That Set BMC Machines Apart
- 3 Compression, Transfer, and Injection Molding Configurations
- 4 Setting Up a Production Run Correctly
- 5 Managing Cure Time and Cycle Efficiency
- 6 Common Defects and Their Root Causes
- 7 Maintenance Practices That Extend Machine Life
- 8 Selecting the Right Machine for Your Application
What a BMC Special Molding Machine Actually Does
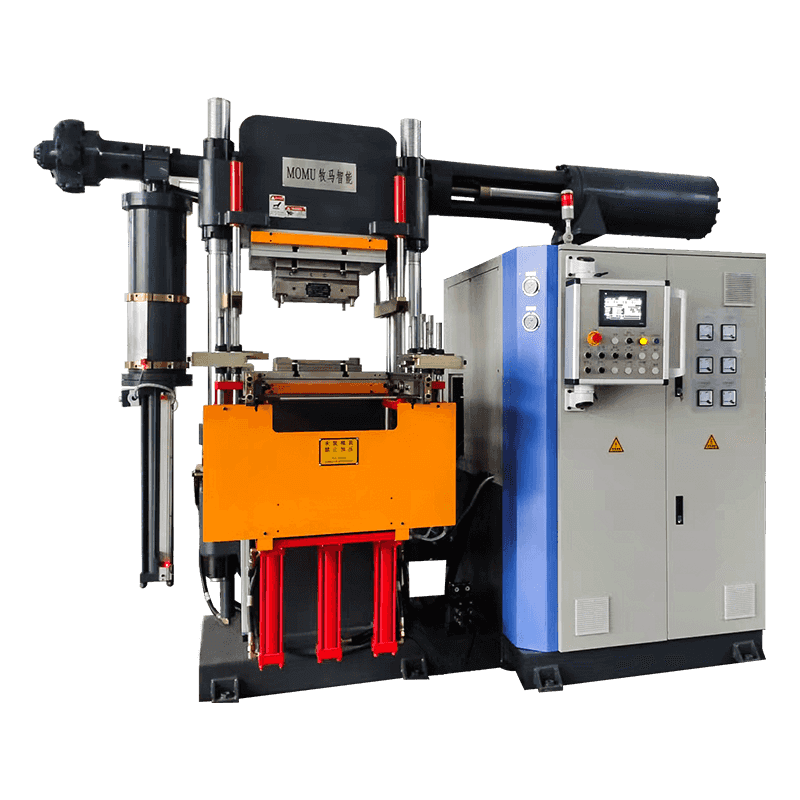
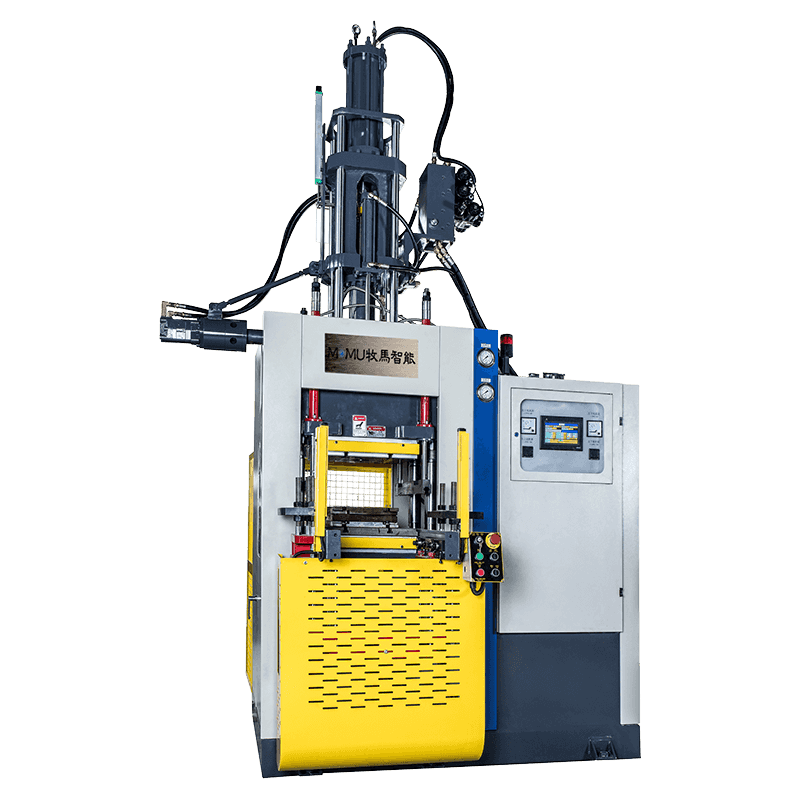
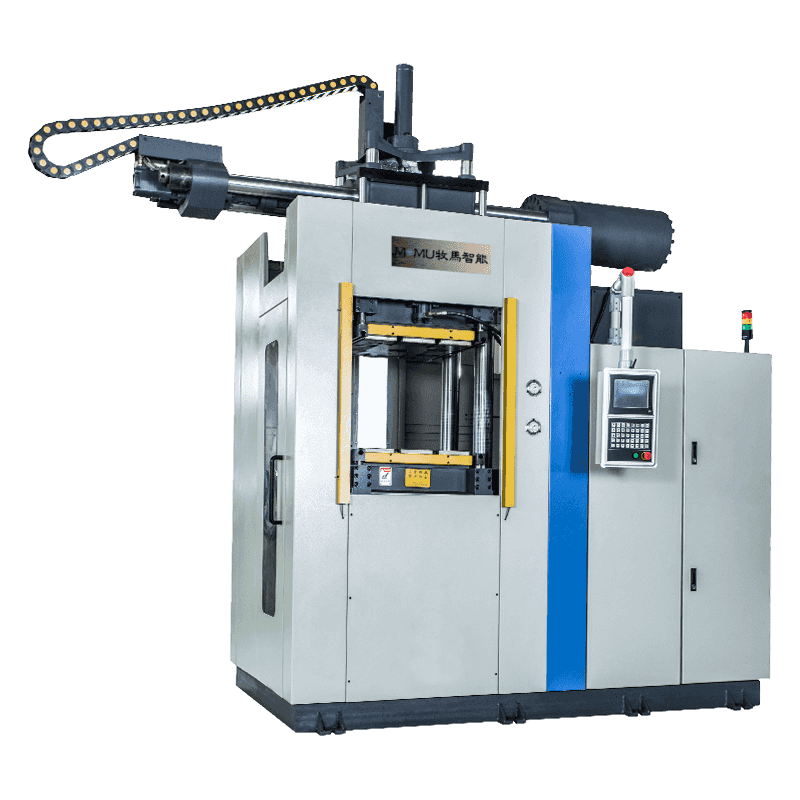
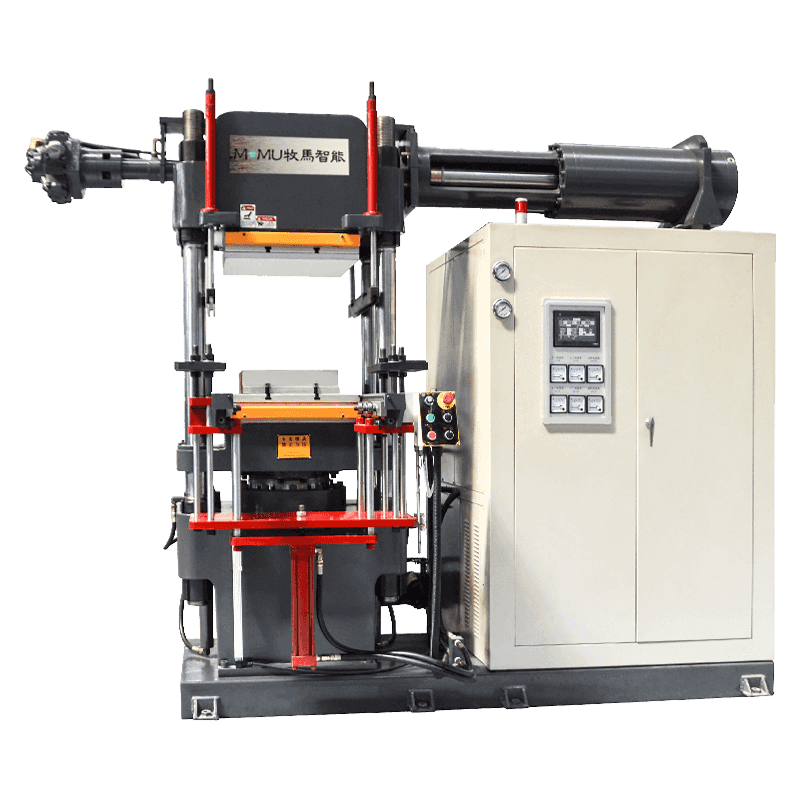
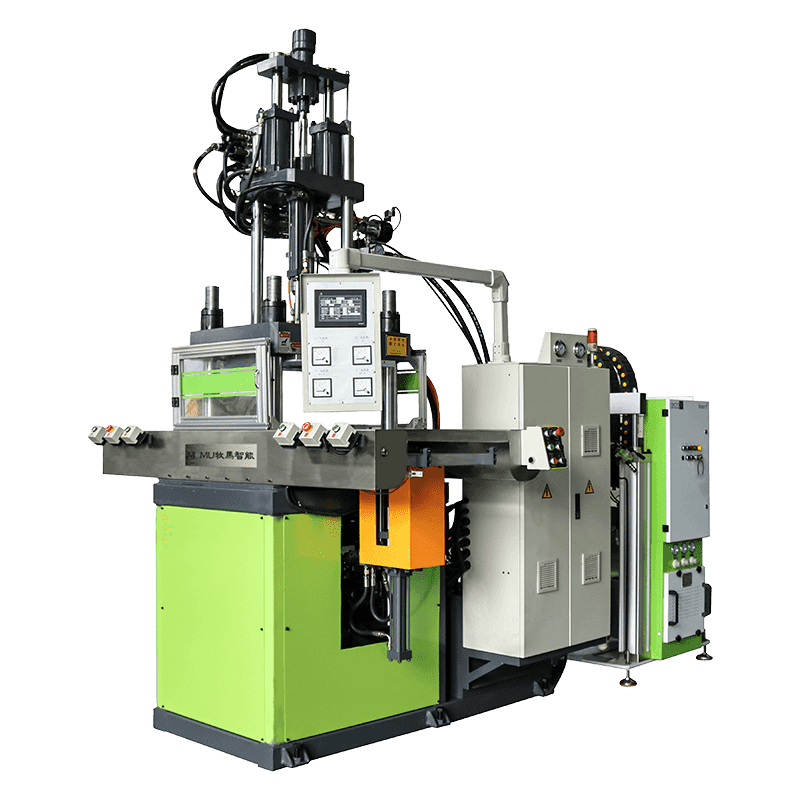
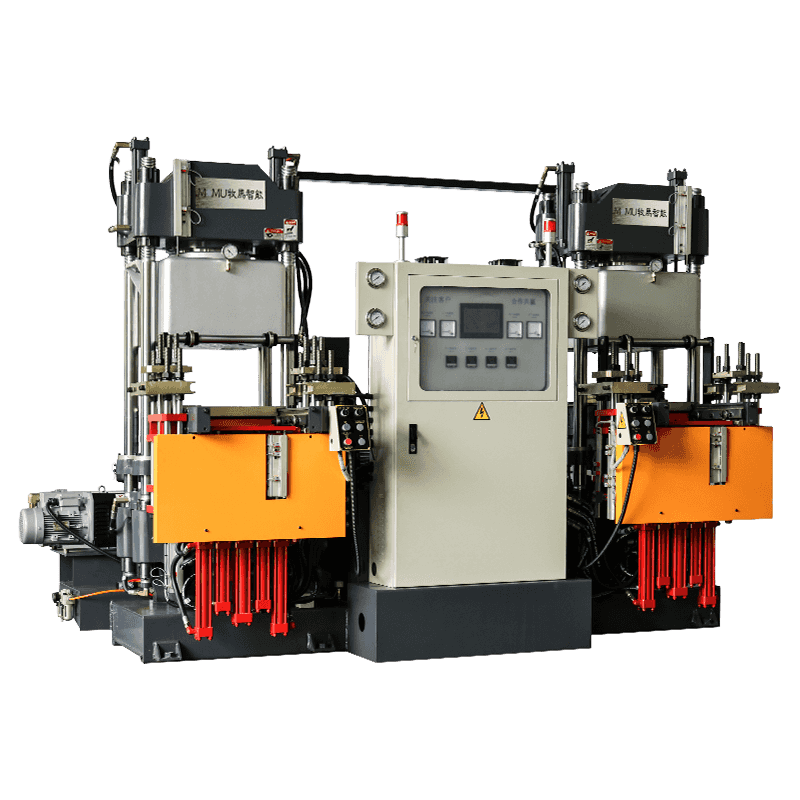
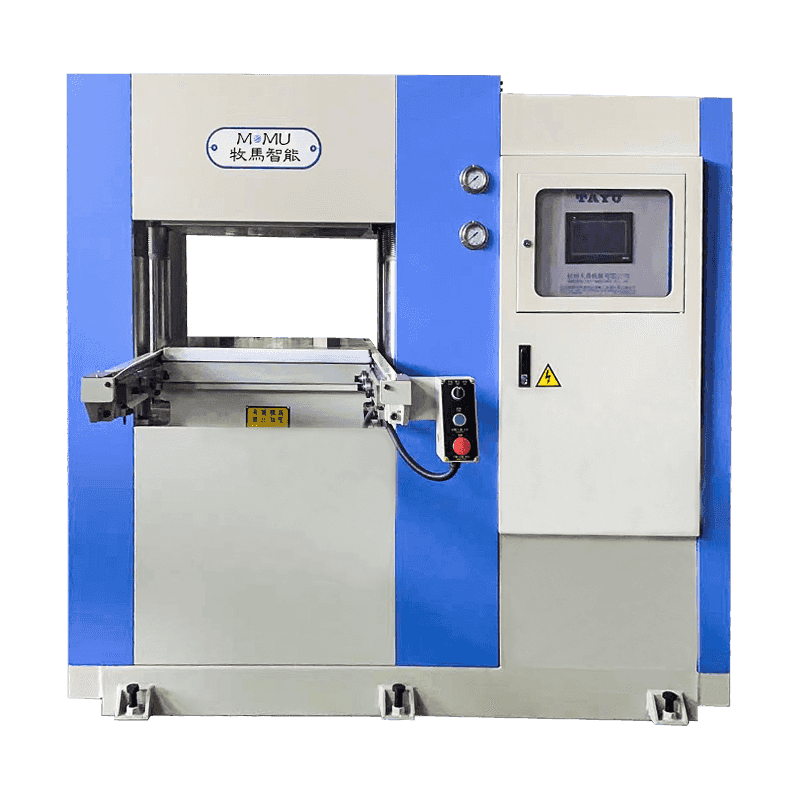
A BMC special molding machine is designed specifically to process bulk molding compound, a thermoset material made from unsaturated polyester resin blended with glass fiber, mineral fillers, and curing agents. Unlike general-purpose injection molding machines built for thermoplastics, a BMC machine must handle a paste-like or putty-like compound that cures irreversibly under heat and pressure rather than simply melting and solidifying again. This fundamental chemistry difference drives almost every design decision in the machine, from the screw geometry to the mold temperature control system.
These machines are widely used to produce electrical components such as circuit breaker housings, switchgear parts, insulators, and connector bodies, as well as automotive parts like headlamp reflectors, engine covers, and heat shields. The appeal of BMC lies in its excellent electrical insulation properties, heat resistance, and dimensional stability, which is why manufacturers invest in machines built specifically around this material rather than adapting standard injection presses.
Core Components That Set BMC Machines Apart
The plasticizing unit on a BMC special molding machine typically uses a low-compression screw with a shallow flight depth, since the compound does not need to be melted the way plastic pellets do. Instead, the screw's job is to convey and lightly warm the material without generating excessive shear heat, which could trigger premature curing inside the barrel itself. Excess shear is one of the most common causes of screw or barrel damage on these machines, so screw speed and back pressure settings are far more conservative than on a typical thermoplastic press.
The mold itself is heated rather than cooled, usually to a temperature between 140°C and 170°C depending on the specific resin formulation, since curing is a heat-activated chemical reaction rather than a cooling-driven solidification. Heating is typically achieved through electric cartridge heaters or oil-circulation channels built into the mold plates, and precise, even temperature distribution across the mold surface is critical to avoid warping or incomplete curing in thicker sections of the part.
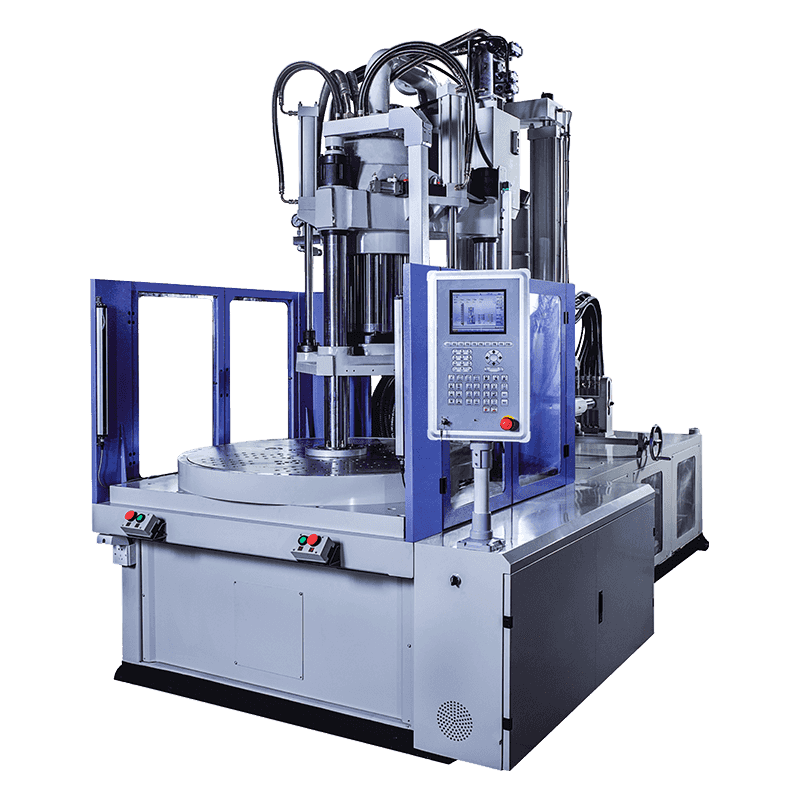
Key Subsystems on a Typical Machine
- Injection or transfer unit for feeding compound into the mold cavity
- Heated platen system for maintaining consistent mold temperature
- Clamping unit sized to resist the internal pressure generated during cure
- Vacuum or vent system to remove trapped air and volatile byproducts
- Automatic ejection system designed to handle brittle, freshly cured parts gently
Compression, Transfer, and Injection Molding Configurations
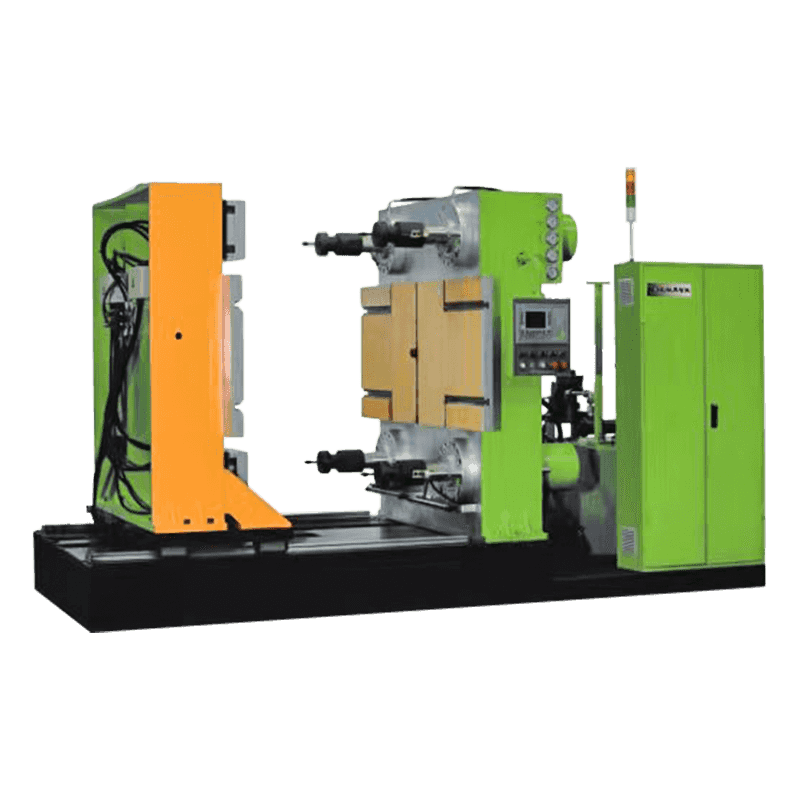
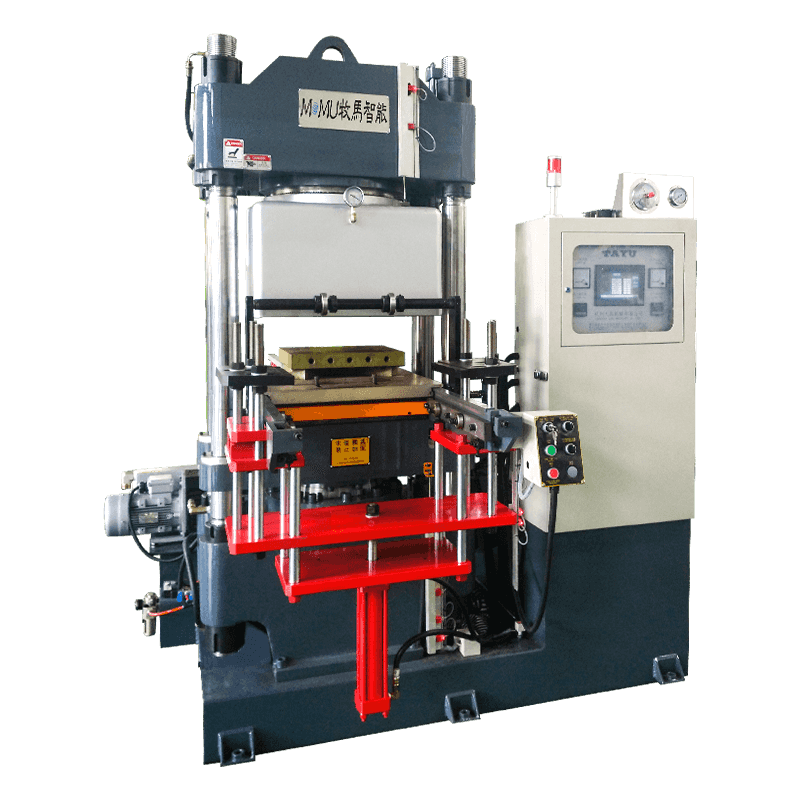
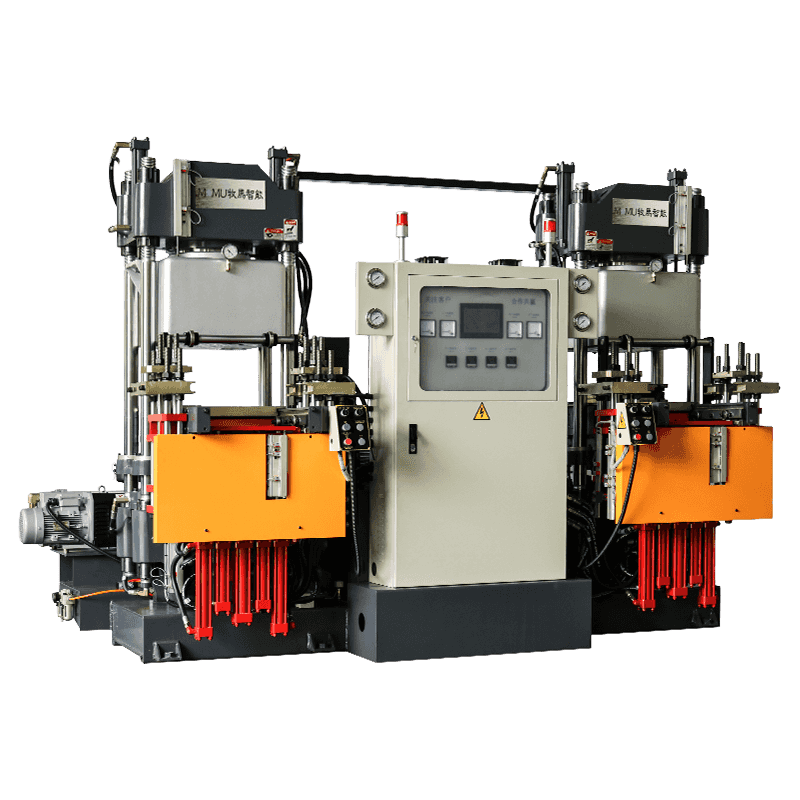
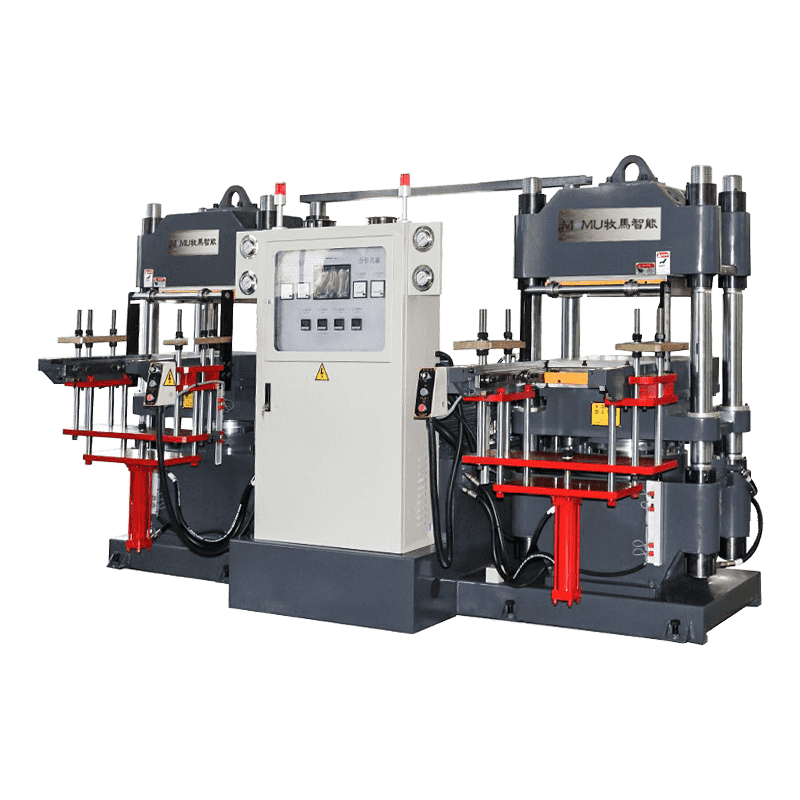
BMC special molding machines come in three main configurations, each suited to different part geometries and production volumes. Compression molding presses simply place a measured charge of compound into an open, heated mold cavity, then close the mold under high pressure to force the material to fill the shape while curing. This method works well for simpler geometries and is often chosen for its lower tooling cost and gentler handling of the fiber reinforcement, which preserves more of the compound's mechanical strength.
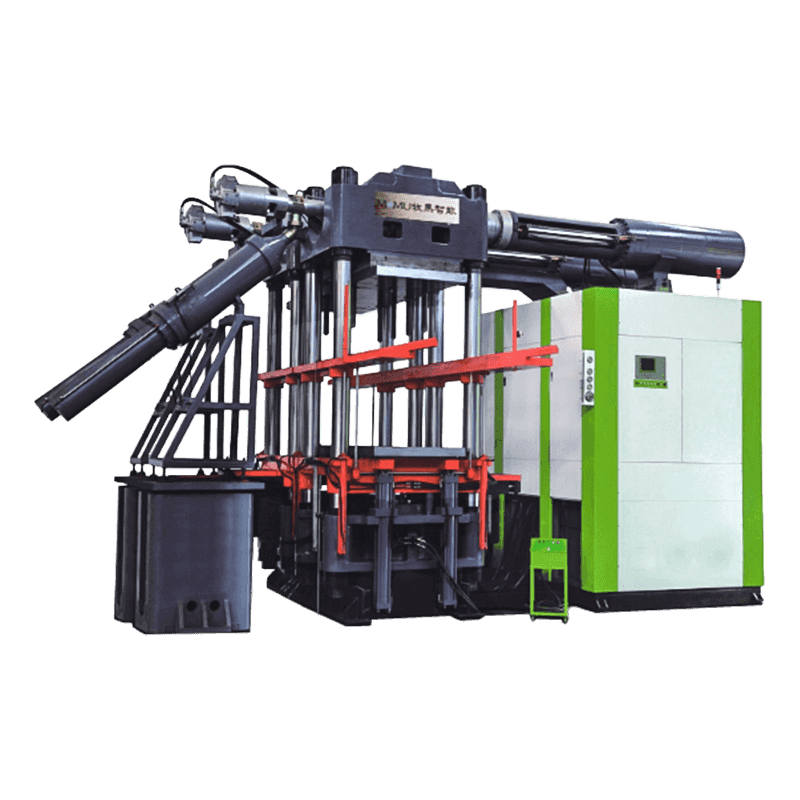
Transfer molding machines use a separate pot to preheat the compound before a plunger pushes it through runners into a closed mold. This allows for more complex part geometries and better dimensional control than straight compression molding, though it does subject the fiber reinforcement to somewhat more shear as it passes through narrow runners. Injection molding machines adapted for BMC take this a step further, using a reciprocating screw to continuously feed compound directly into a closed mold, which suits high-volume production of parts with moderate complexity.
Choosing Between the Three Methods
| Method | Best For | Typical Cycle Time |
| Compression | Simple shapes, high strength parts | 60 to 120 seconds |
| Transfer | Moderate complexity, insert molding | 45 to 90 seconds |
| Injection | High volume, complex geometry | 20 to 60 seconds |
Setting Up a Production Run Correctly
Before starting any production run, operators should verify that the mold temperature has stabilized across all zones, since a temperature difference of even five to ten degrees between sections of a large mold can cause uneven curing and internal stress. Most modern BMC machines include multi-zone temperature controllers with independent readouts, and it is worth checking each zone individually rather than trusting a single average reading.
Charge weight is another critical variable. Too little compound leaves short shots or surface voids, while too much causes flash and excessive material loss at the parting line. Operators typically determine the correct charge weight through a series of trial shots, weighing the compound precisely before each attempt and adjusting in small increments until the part fills completely with minimal flash. Once the correct weight is established, it should be documented and used consistently, since BMC compound does not tolerate the kind of on-the-fly adjustment common with thermoplastics.
Clamping force must also be matched to the projected area of the part and the internal pressure generated during cure, generally following a rule of thumb between 800 and 1500 psi of projected area, though this varies with the specific compound formulation and part geometry. Under-clamping leads to flash and dimensional inaccuracy, while excessive clamping can accelerate wear on the mold and tie bars without improving part quality.
Managing Cure Time and Cycle Efficiency
Cure time is the single largest factor determining how many parts a BMC machine can produce per hour, and it depends on part thickness, mold temperature, and the specific curing agent used in the compound formulation. Thicker sections require longer cure times because heat must penetrate to the core before the reaction completes throughout the part, and pulling a part too early risks warping or incomplete mechanical properties even if the surface looks fully cured.
Many manufacturers use a general guideline of curing for roughly thirty seconds per millimeter of wall thickness at standard mold temperatures, though this should always be verified against the specific resin supplier's data sheet rather than treated as a universal rule. Running a differential scanning calorimetry test on a new compound batch can help confirm the actual cure kinetics before committing to a production cycle time, particularly when switching suppliers or resin lots.
Factors That Influence Cycle Time
- Part wall thickness and overall mass of material
- Mold surface temperature and uniformity across cavities
- Curing agent type and concentration within the compound
- Presence of metal inserts, which can act as heat sinks and slow local curing
- Number of cavities and how evenly compound is distributed between them
Common Defects and Their Root Causes
Because BMC molding involves a chemical curing reaction rather than simple solidification, defects often trace back to thermal or timing issues rather than the mechanical settings that dominate thermoplastic troubleshooting. Surface blistering, for example, usually results from trapped volatiles or air that could not escape before the surface skinned over, which points to a need for better mold venting or an adjusted vacuum sequence rather than a change in injection speed.
| Defect | Likely Cause | Recommended Fix |
| Surface blistering | Trapped volatiles or air | Improve venting, adjust vacuum timing |
| Warping after ejection | Insufficient cure time or uneven mold heat | Extend cure, rebalance heater zones |
| Excessive flash | Overcharge or low clamp force | Reduce charge weight, verify clamp tonnage |
| Fiber show or roughness | Excess shear during feeding | Lower screw speed and back pressure |
Maintenance Practices That Extend Machine Life
Cured BMC residue left in the barrel, runners, or mold surfaces is abrasive and can accelerate wear on screws, check rings, and cavity surfaces if not cleaned regularly. Most facilities schedule a thorough purge and mechanical cleaning at the end of every shift, using dedicated cleaning compounds designed to soften cured resin residue without damaging chrome-plated mold surfaces.
Heater bands and thermocouples should be checked on a fixed schedule, since a failing heater zone often shows up first as a subtle quality drift rather than an obvious machine fault. Keeping a maintenance log that records heater resistance readings, screw wear measurements, and hydraulic pressure trends over time makes it far easier to catch a developing problem before it causes a batch of scrap parts.
Hydraulic fluid condition also deserves regular attention, since the high clamping forces involved in BMC molding put continuous stress on seals and valves. Replacing filters on schedule and monitoring fluid temperature during long production runs helps prevent the gradual pressure drift that can silently affect clamp tonnage and part dimensions over weeks of operation.
Selecting the Right Machine for Your Application
When evaluating a BMC special molding machine for purchase, match the clamping tonnage and shot size to your largest anticipated part rather than your average part, since undersizing a machine for future projects is a common and costly mistake. Consider also whether your product mix leans toward simple, high-strength parts that favor compression molding, or complex geometries with inserts that favor transfer or injection configurations.
Finally, look closely at the temperature control system's zone count and responsiveness, since inconsistent mold heating is one of the most persistent sources of quality variation in BMC production. A machine with finer zone control and faster heater response will generally produce more consistent parts across long production runs, even if the upfront cost is somewhat higher than a simpler alternative.